PaperCut Web Print
What is it?
An alternative way of printing your own work to multifunction printers
How does it work?
Using the web browser interface, upload your work as a PDF document to the system and set your printing options for the job. Then you just pick up your document from a multifunction printer, just like a regular print job.
How do I use it?
1. Open a web browser, browse to https://print.metropolia.fi and log in using your Metropolia user ID.

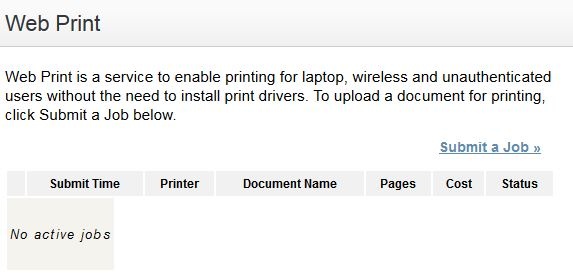
2. In the panel on the left, click on 'Web Print'.

3. Begin by clicking on 'Submit a Job'.
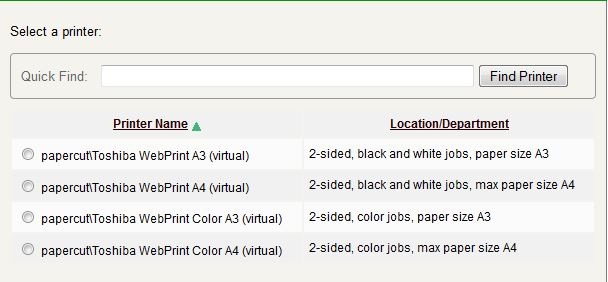
4. Select one of the four printers and then click on '2. Print Options and Account Selection'.
Notice!
Toshiba WebPrint A4 printer handles only A4 print jobs. One can get jobs from this queue from any MFP at Metropolia campus'.
Toshiba WebPrint A3 printer handles only A3 print jobs. One can get jobs from this queue only from A3 MFPs at Metropolia campus'.
5. Select the number of copies and the account that is being charged. You can also use a shared account if you have access to it. End by pressing '3. Upload Document'.

6. One can add jobs to queue in two ways. Either drag files to the Drag files here -section or click on 'Browse' and select from your computer the document that you want to print. Then click on 'Open'.
Remember that the document must be a PDF document!
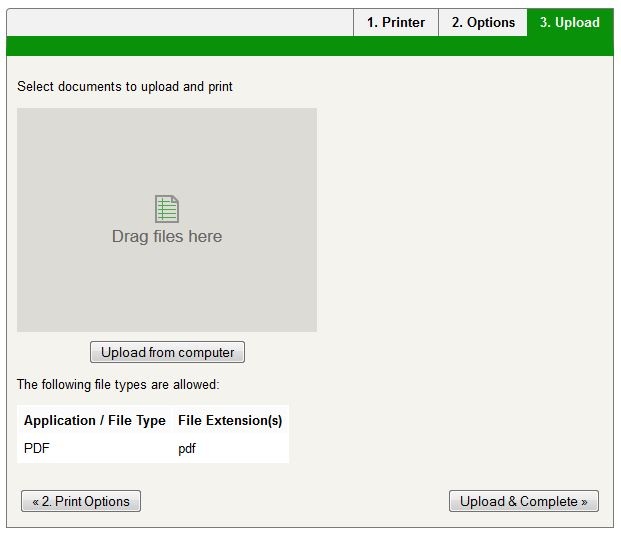
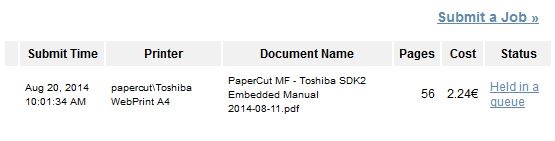
7. Check that you are printing the right document and then click on 'Upload & Complete'.
8. PaperCut begins to process your job.

9. The job is ready for pick up. You can pick it up at the nearest multifunction printer.