| Include Page | ||||
|---|---|---|---|---|
|
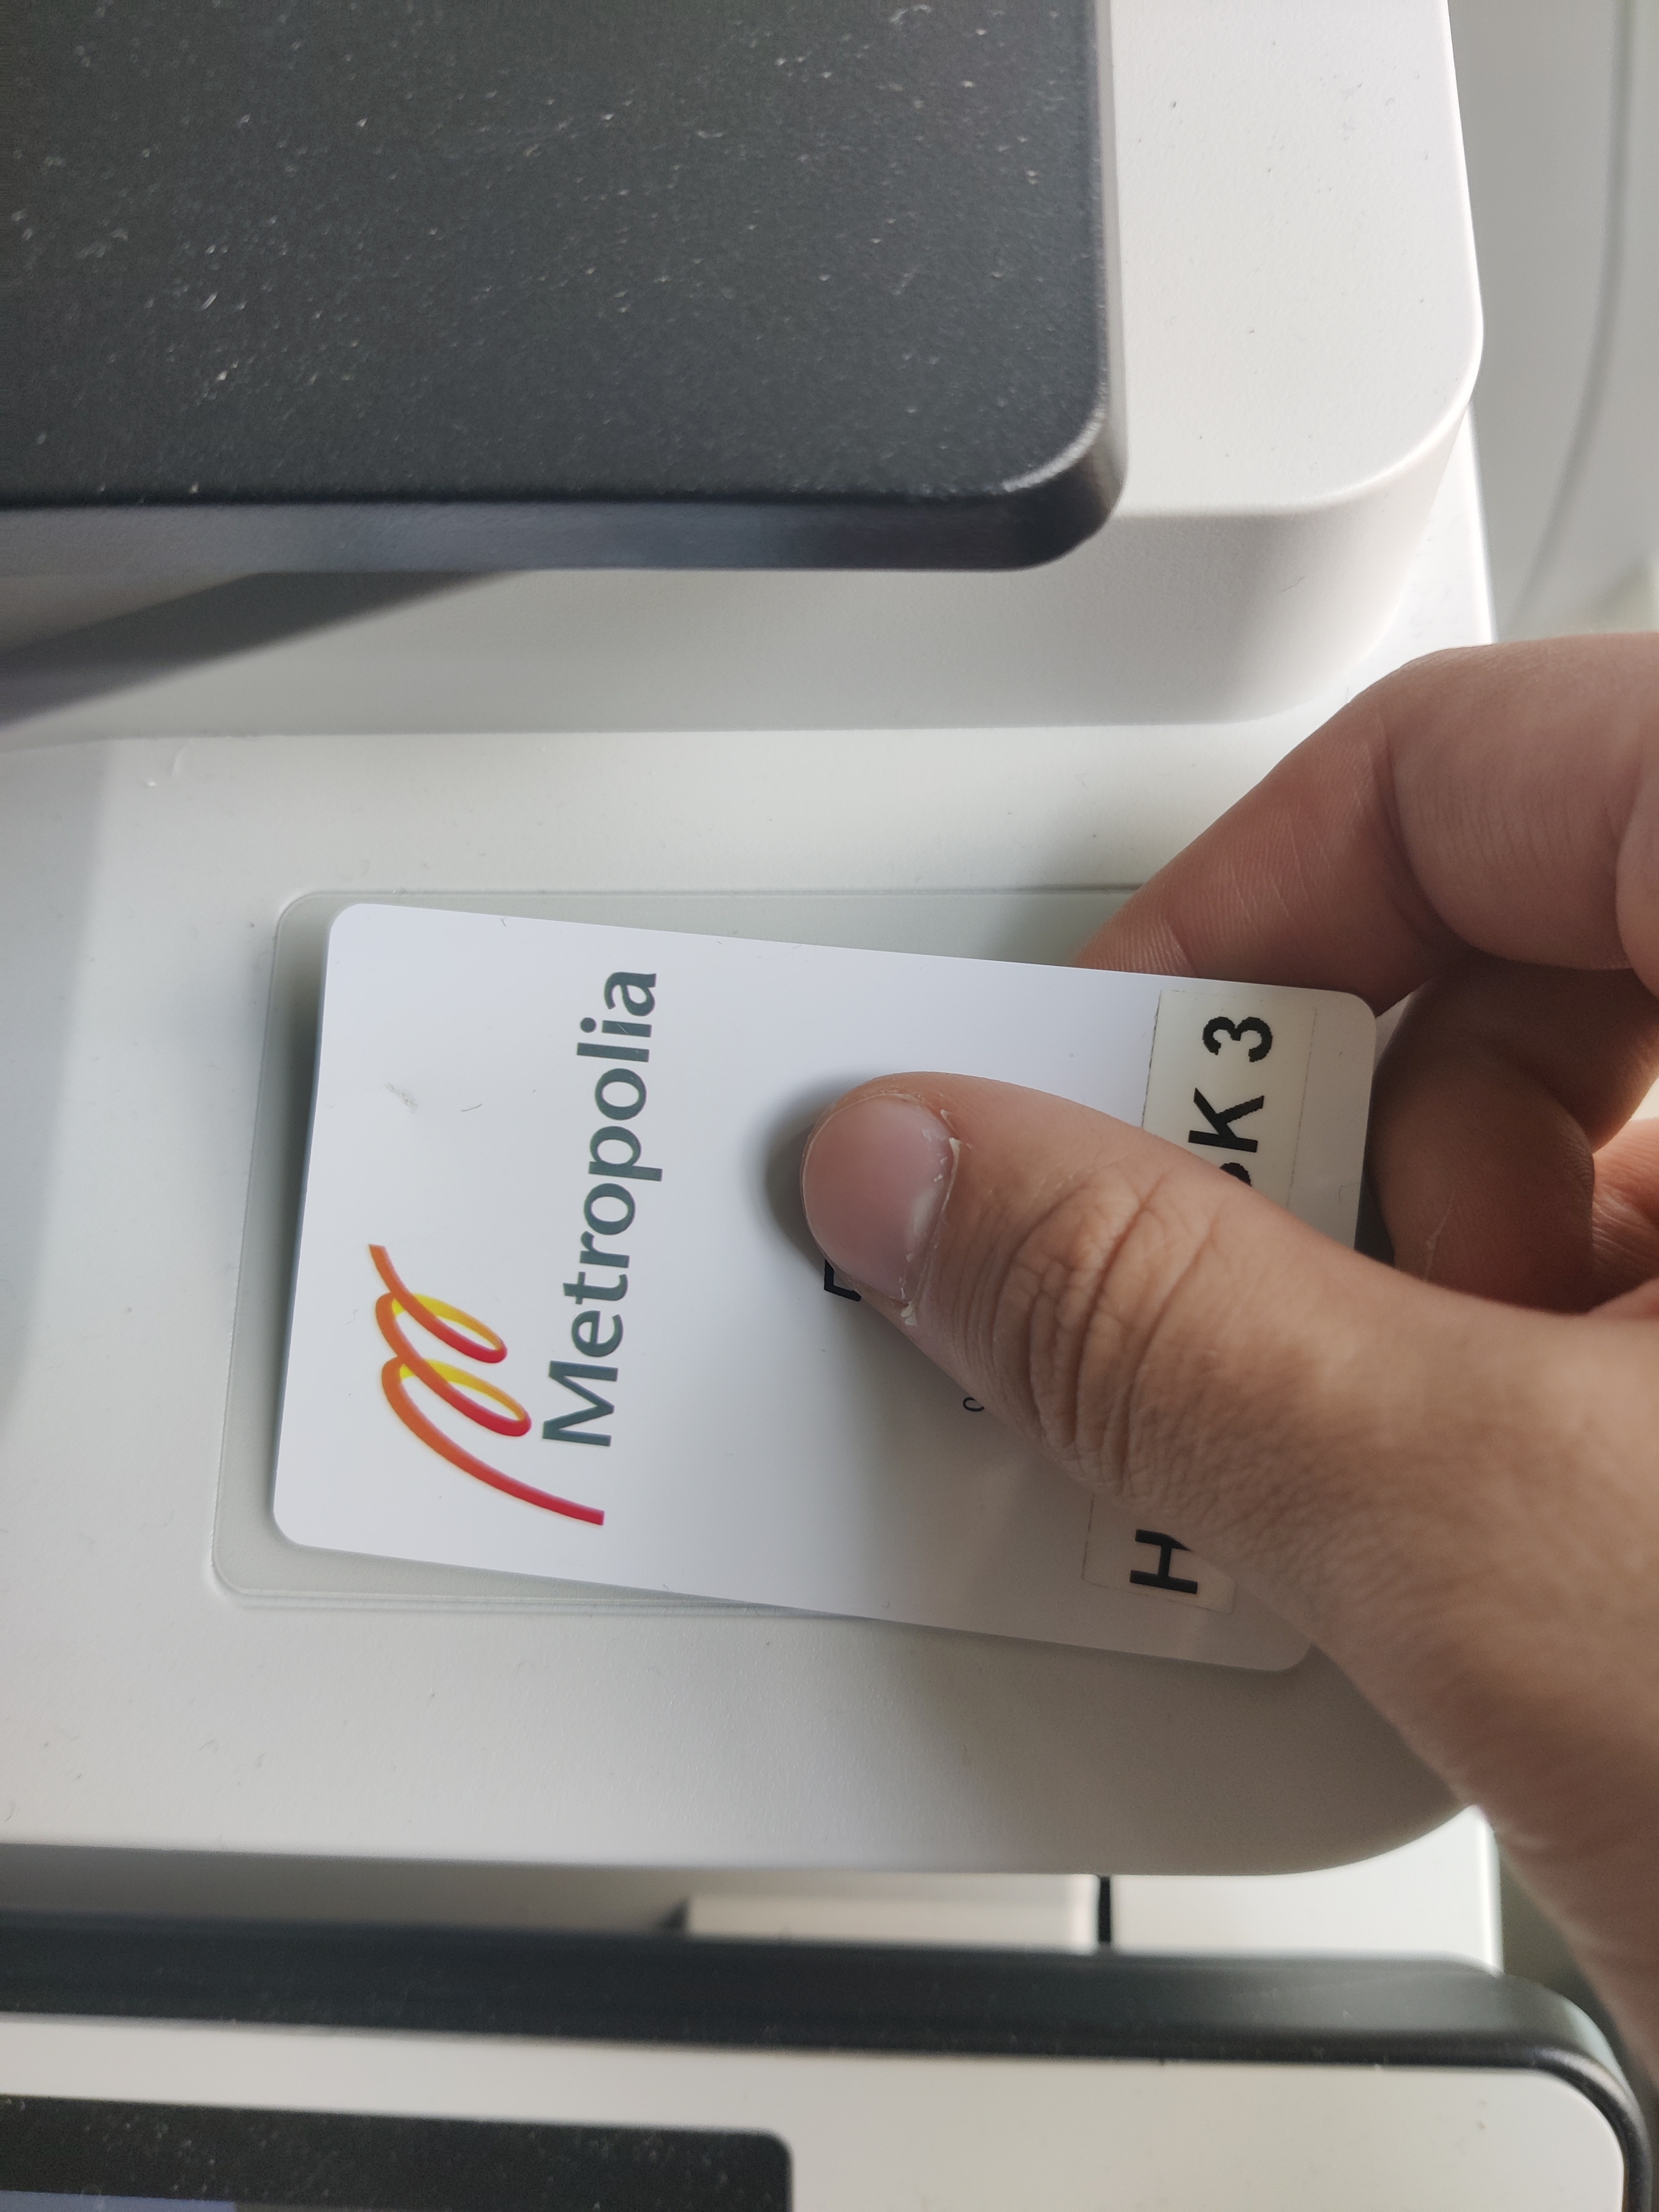
1. Touch the Toshiba Canon card reader with your copy card.

2. Select the scanning job type:
...
Multi-page scan
Place a multi-page document
...
text side
...
up
...
in the feed tray located on the top of the lid.
...

single-page scan
...
Place a single-page document under the lid text side
...
down
...
.
...

3. Press the ”SKANNAUS” button on the device.  4. Select where you want to scan your document to. The options are USB stick or your e-mail address:
Scanning to e-mail
work. Email or USB flash drive.
Scan to email
| Info | ||
|---|---|---|
| ||
Notice! | ||
| Expand | ||
| ||
Notice! Negative balance on a copy card must not must not exceed -0,20€. Notice! When scanning to e-mail the file size is limited to 20MB. Select e-mail by touching the E-MAIL button on the touch screen. Your e-mail address is shown on the screen. At this point you can choose the file type. The options are PDF, slim PDF (the file size is smaller than that of PDF), TIFF, JPG and XPS. Touch ”OK” on the touch screen. 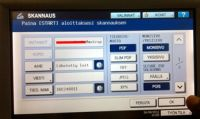 You can change the scanning options by touching the ”ASETUKSET” button on the touch screen. Among the option are color/B&W, zoom, and double-sided. After setting the options you want, touch the ”SKANNAA” button on the touch screen  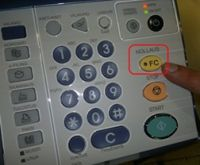 |
Scanning to a USB stick
...
| title | Scanning to a USB stick |
|---|
...
Scan to your own email address
1. Select Scan.
2. Select Scan to My Email or Scan to My Email 1-sided.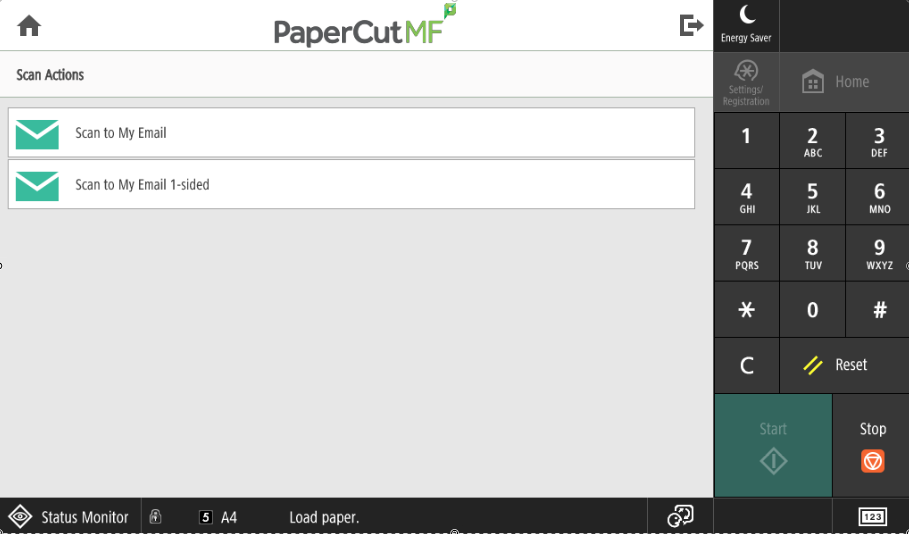
3. Press Start button.
4. Press Finish button.
Scan to a specific email address
1. Select Access Device.

2. Select Scan and Send.
3. Select New Destination.
4. Select E-Mail.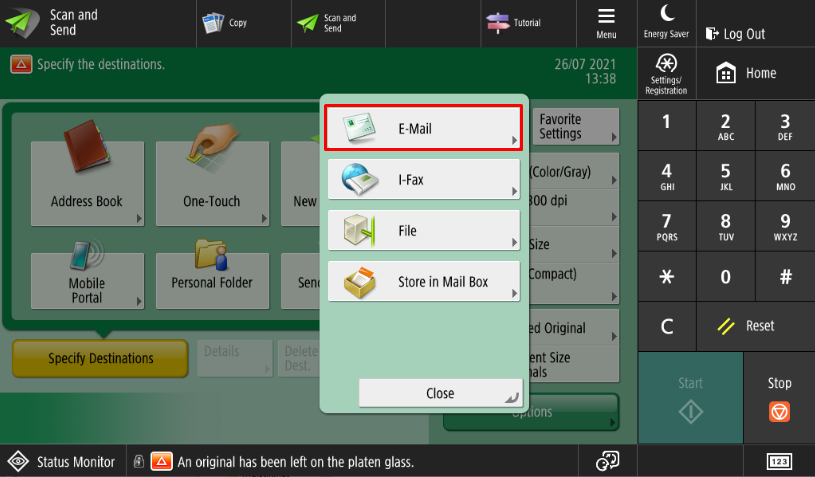
5. Type email address and press OK.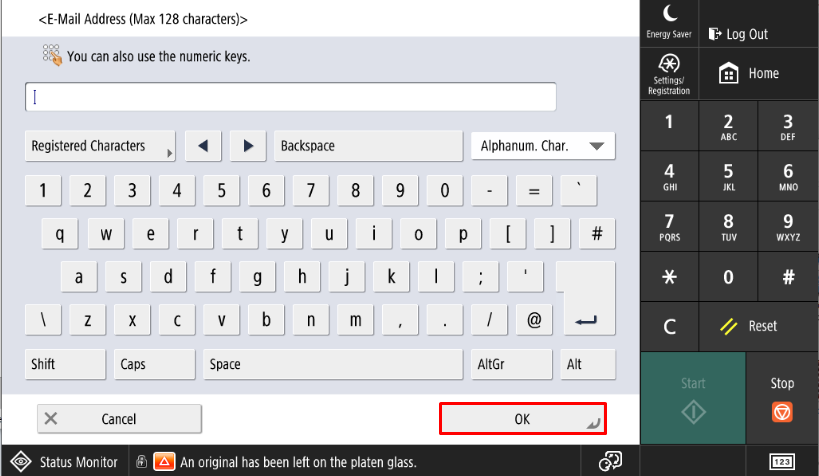
6. Press OK.
7. If you want to send your scans to more than one email address, you can do it by pressing Specify Destinations button and starting again from instruction three.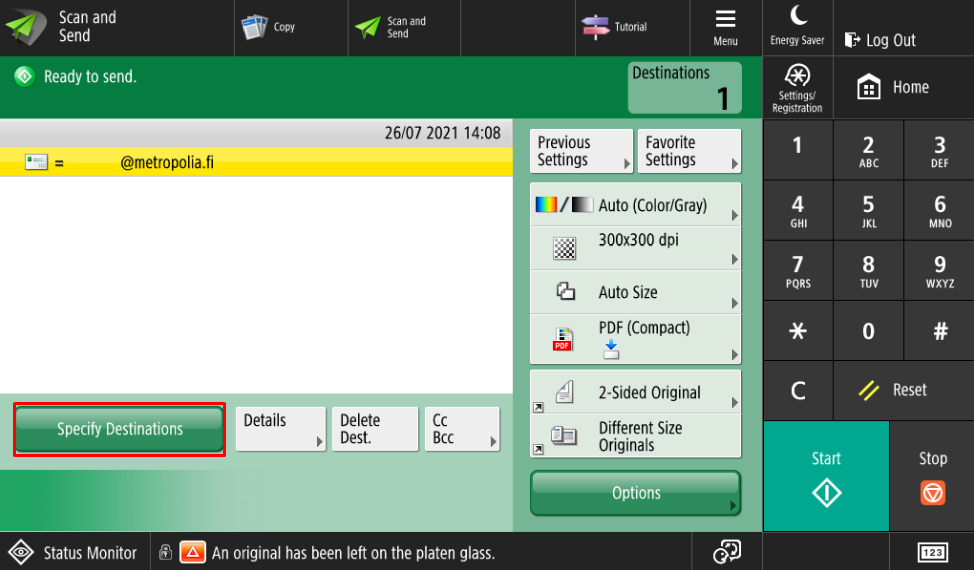
8. By pressing Start button you can now send scans to email.
9. Remember to log out of device.
Scan to USB flash drive
| Info | ||
|---|---|---|
| ||
USB flash drive's format must be fat/fat32. |
1. Insert the USB flash drice to the USB port.
2. Select Access Device.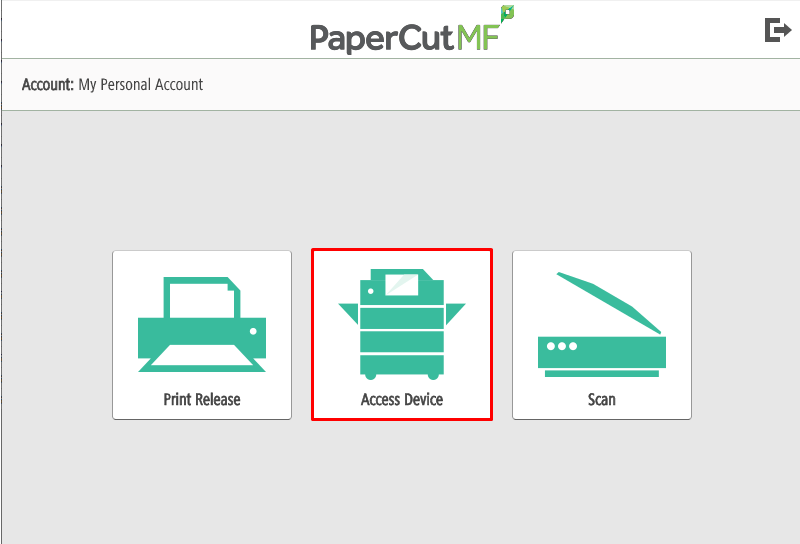
3. Select Scan and Store.
4. Select Memory Media.
5. Select USB flash drive.
6. Select Skannaus.
7. You can change scanning options here. (Colour, resolution, file format, etc)
8. Scan to USB flash drive by pressing START button.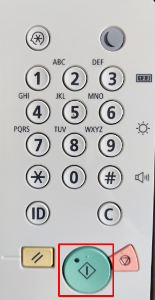
9. Select Aloita tallennus.
10. USB flash drive now has scanned file. Remember to remove USB flash drive safely with Eject.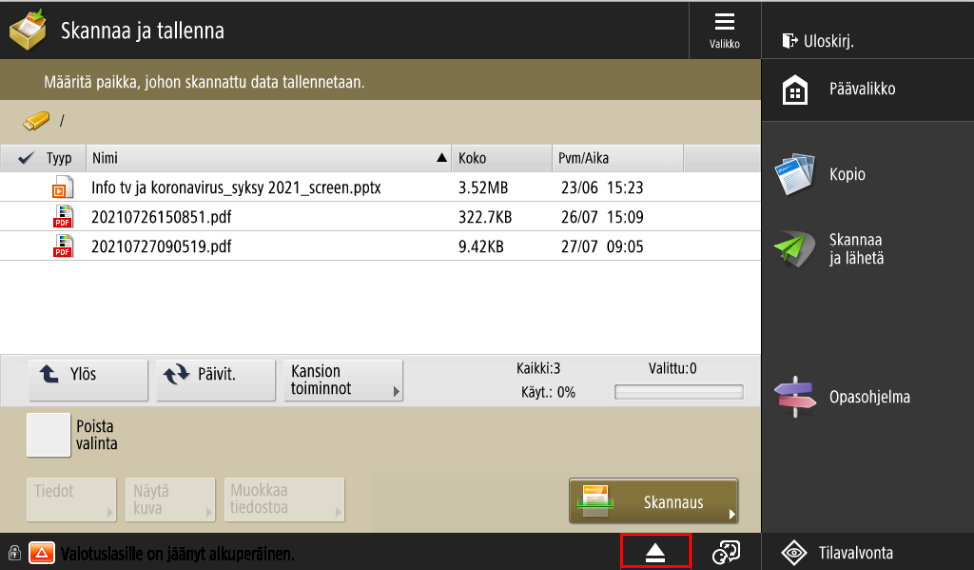
11. Select USB flash drive and press Poista button.
...